Wednesday 11 December 2013

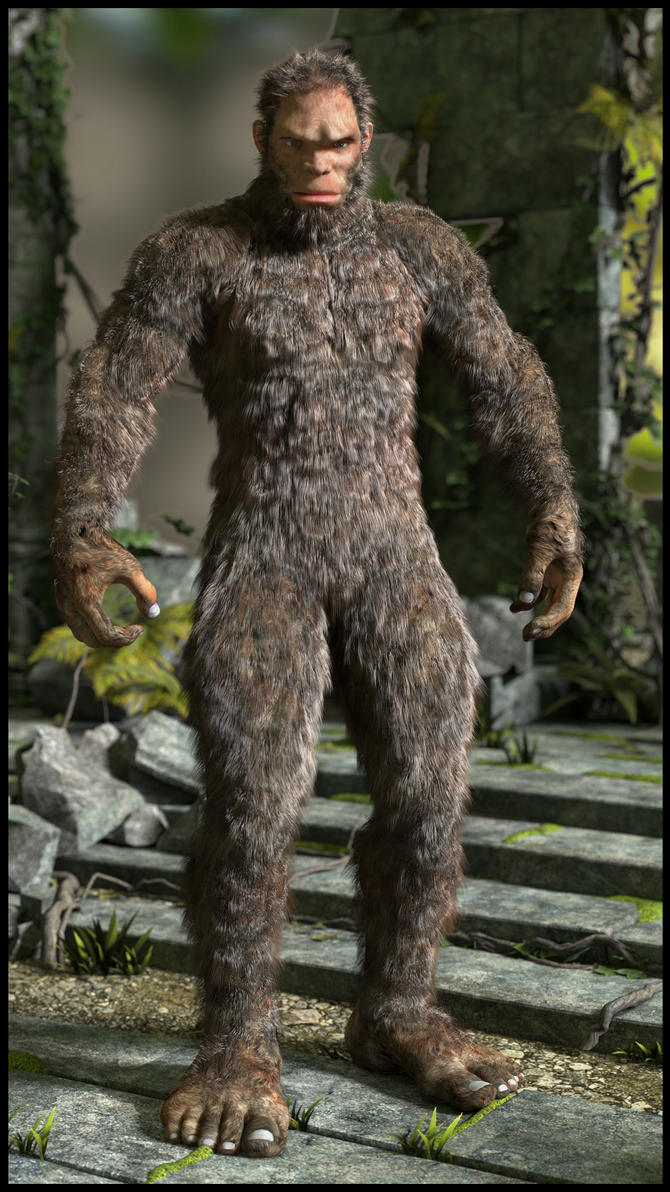
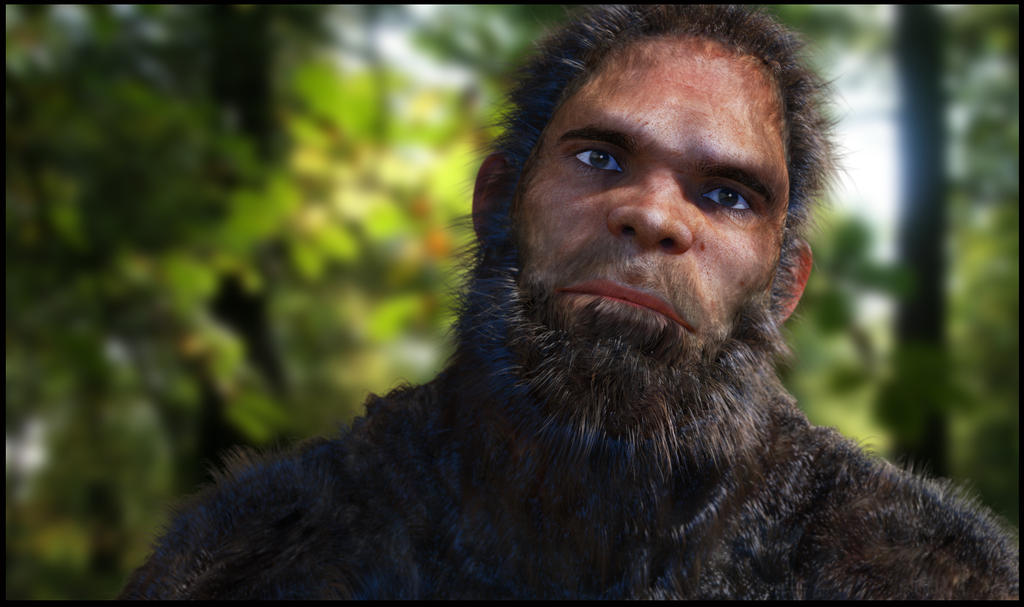
Bigfoot- Dynamic Hair Tutorial

A lot of people asked if I could write a tutorial on how I created the dynamic hair for my Bigfoot images.


I have heard the call and created a video tutorial with all the details you need on turning M4 into a hairy monster. The tutorial tips could easily be applied to animals such as cats and dogs to get realistic fur in Poser

Check it out: Bigfoot hair tutorial

 I will be uploading more tutorials as soon as I can

Friday 16 August 2013

Commission an image

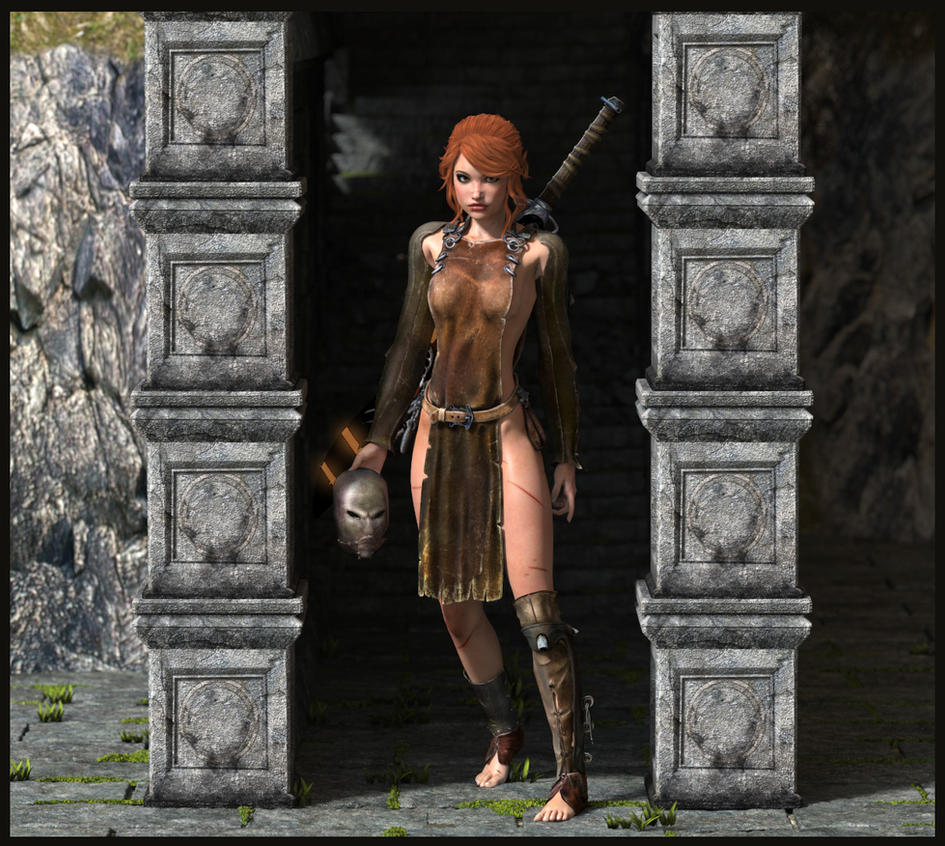
I am available for commission images if you are interested in getting your ideas realised in three dimensions.

You can find the request buttons on my DeviantArt Page just under my Devaint ID (on the right hand side)

Prices are now slightly reduced and are as follows:

Portrait=2000:points: (£15 GBP/ $25 USD)


A portrait is a close up shot showing no more than head and shoulders. You can request jewellery, make-up and hair options etc.


Scene image=5000:points: (£35 GBP/  $55 USD)


A scene image includes one or more characters and a full background scene. You can request clothing backgrounds characters etc.


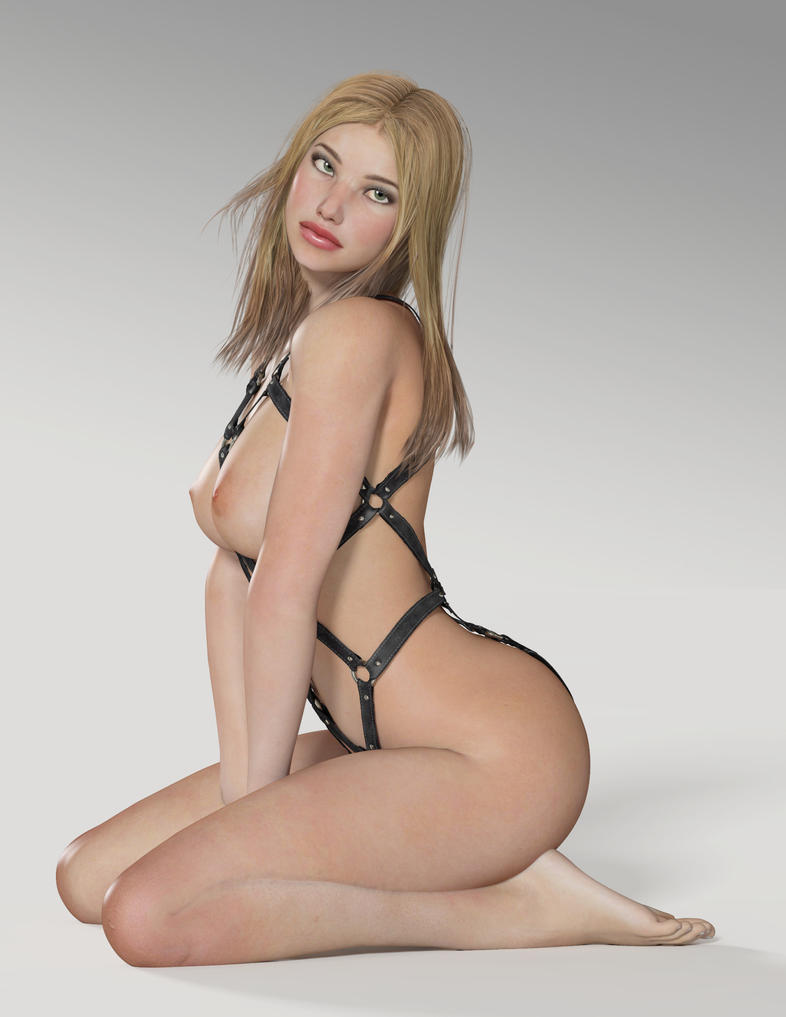
Nude Pin Up=4000:points: (£25 GBP/ $40 USD


A nude pin up will include one character (male or female) with no or little clothing set against a simple background. Themes and characters can be requested.


If you would like to commission an image please use either the request buttons on my profile page or, if you prefer to pay with Paypal, contact me via a Note message with details of your request.

Thanks for reading

John- retrodevil

Tuesday 24 January 2012

Poser Render settings

A lot of people ask what my render settings are and I thought I would post them on here. I remember when I started render settings seemed like the black arts so I hope these will give you a good starting point.

I have two presets saved. The first one for use with normal lighting (without IDL)


These setting give me some great renders with relatively short render times. If you want to change these settings you can edit things like "Raytrace Bounces" This will improve renders using reflections but it will increase render time. Also Pixel samples improves shadows but will increase render times. Sometimes using this preset I will turn off "gamma correction" as it changes the effect you get from certain light sets e.g. LIGHT by retrodevil/me

My second preset is for use with IDL (InDirect Lighting)


These settings are slightly different because of the increased calculations of IDL I reduce "Irradiance Caching" so render times are decreased while maintaining a decent quality. You could increase this but render times will be longer (a lot longer). The other thing I will mostly always use with IDL is Tone mapping "HSV Exponential" This usually helps irradicate over exposure when using IDL but can slightly increase render times. you can try it without and if you are happy with the results leave it off.


These screen shots were taken from Poser Pro 2012, some options will not be available in previous versions. If you have Poser 7 or earlier the first screen shot has all of the information you need. If you don't have a certain option, for instance "Gamma Correction" those setting will still work.

Thursday 19 January 2012

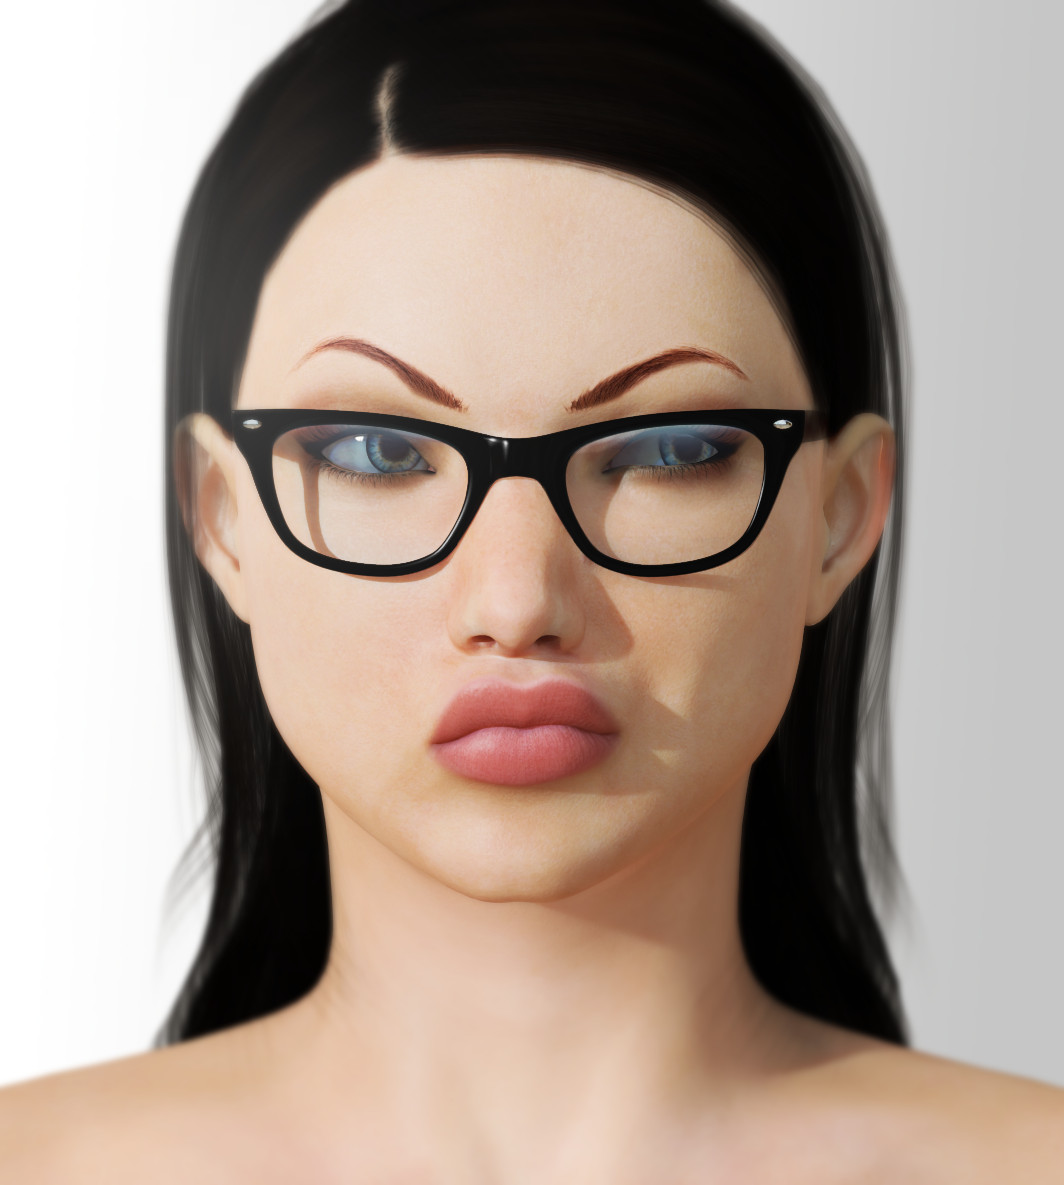
Alita V4 Character

Alita V4


Alita, a Victoria 4.2 character, has been lovingly created to represent a beautiful yet realistic girl.

Her custom face morph was carefully crafted so that she has a uniquely attractive face while maintaining a "real world" look of a young woman you might see in real life.

Alita's Skin texture is highly detailed and her skin shaders offer a soft and warm realism.

Included in this package is a SubSurface Scattering shader for all of Alita's skin and eye options. (For Poser 9 / Poser Pro 2012 only)

Also as an added bonus Alita comes with three facial peircings(Brow,Lip,Nose) as well as a pair of thick rimmed spectacles. (All of which can be used with any V4 character. Some minor adjustments may be required.

Product includes:

-Alita v4 head INJ+REM files (Custom Morph)
-Alita v4 Body INJ+REM files (Moprhs ++ required)
-Alita v4 MAT file (SSS and Standard version)
-Alita v4 MAT file-with tattoo (SSS and standard version)
-8 Makup options including no makeup version (SSS and Standard)
-3 eye colours (SSS and standard)
-7 Lipstick colours

SMART PROPS

-Thick rimmed Spectacles
-3 facial piercings. Brow, Nose, Lip

More images:

 Alita wearing her glasses..So sexy ;)

Alita is available now from Renderosity

All images rendered using ID-Light available at Renderosity.

Thursday 17 November 2011

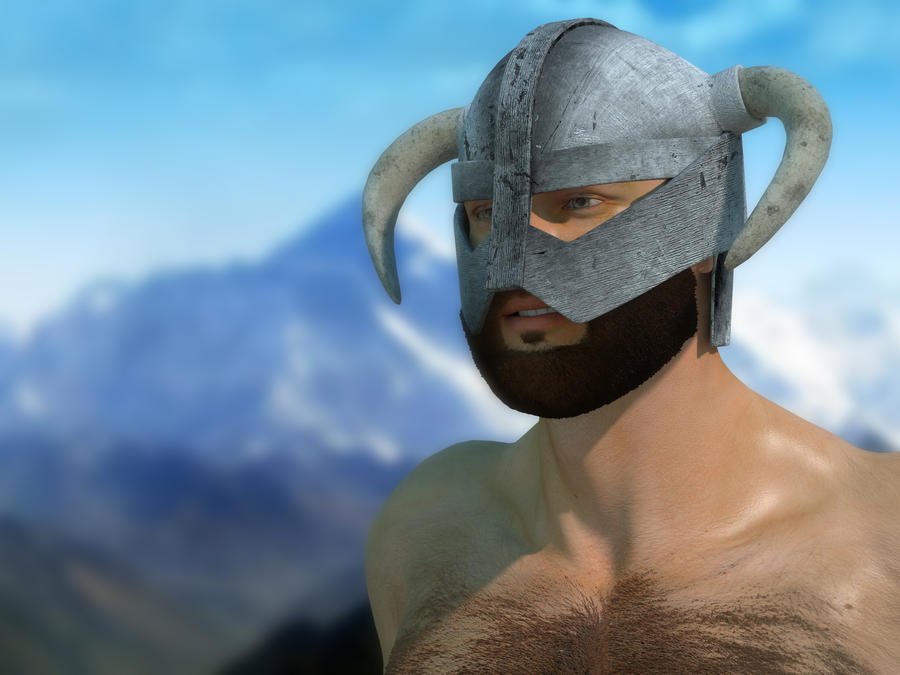
Dragon Born Helmet

I made this Dragonborn Helmet in Silo and decided to release it free. If you are interested check here: Iron Helmet

Wednesday 9 November 2011

Military Outpost

A military Outpost for Poser.
Check it out over at Renderosity: Military Outpost

IDL methods in Poser

Thank you for visiting my blog, I hope you will find this tutorial useful.
I will guide you through three methods of using my new Product ID-Light. If you do not have ID-Light you may be able to follow some points and still understand but some points need props and settings only included in the ID-Light product.
First of all this collection of lights can be used without the use of IDL (InDirect Light) which means you can use the product with Poser 6 and onwards. The results in Poser 6 and 7 however will vary considerable from Poser 8 onwards.
If you do however have Poser 8 onwards you have the extra benefit of using IDL.

Method one- IBL lighting(used in Poser 6 onwards)
ID-Light includes several IBL(Image Based Lights) which are created using the same images as the IDL set ups use. These IBL lights give different results but nevertheless are a great way to get excellent renders fast. Using these lights is very easy, once located in your runtime you click "Apply Library Preset" and there you have it, pre-made lighting that you can use as it is or add extra lights depending on your desired result.

Method two-IBL and IDL (for Poser 8 onwards)
Although not the traditional method of using Indirect lighting, Poser can use an IBL light to illuminate the scene rather than the more usual Environment Sphere method. Since Poser 8 there has been the option to use IDL, this option can be toggled in the Render settings and is a simple tick box. To use the IBL lights included in ID-Light in conjunction with IDL all you have to do is follow Method one and then before rendering ensure your IDL box is ticked.
Regarding render settings, I advise using the following settings.

These setting are different to my usual advised settings and I have found them to be the best settings for a balanced outcome. This means getting the best quality at the best possible render time. If you continue to use the settings I normally use you will have very long render times and quite frankly not much better results.

Method 3-Environment Sphere
An environment sphere allows IDL to work the way it was designed to by trapping light rays within a certain area and allowing them to bounce around. The result you get from IDL is a realistic one and means there is no need for Ambient Occlusion.
Located in the "Props" folder is a sphere named "EnviroSphere" This sphere is set up for use in IDL lighting and once loaded using the "Apply Library Preset" option you will need to enter the "Material Room".
Once in the material room you will notice the sphere has an image attached to it. If you wish to change the default image navigate to you materials folder of your runtime and find the IDLight folder. This folder contains preset materials for the sphere and simply clicking the "Apply Library Preset" button will change the colour produced by the sphere.
Now on retuning to the "Pose Room" you will probaly want to add some directional light to your scene. ID-Light comes with preset light separates to make things a little easier. These lights are located in your Light folder under IDLight. You have the option to add several point lights which will simulate a light similar to a bulb casting a degrading light from a single point in all directions. Also there are two "Sun" lights. These lights cast and infinite light source with no degradation over distance. All of these lights include Specular highlighting as default but if you find you scene is lacking in Specular highlights you can add the "Specular Light" this light only casts Highlights without adding extra illumination or shadows. To add several lights from the library you must use the "Add preset to current scene Lights" button. This will add a light without clearing the previously loaded lights.

Noteworthy extras: Hiding the Sphere.

One of the main advantages of using an IBL light instead of the Environment sphere is that your background is still clear meaning in Photoshop you are free to add your own background. This unfortunately is the case with Poser 8 and Pro 2010. You can however hide an object from rendering in poser 9 and pro 2012. Simply untick the "visible in camera box" This will then remove the sphere at render time.
In conclusion if you want to use a blank background in poser 8 your best bet is to use the IBL light in conjunction with IDL.

I hope you found this tutorial useful. If you have any extra questions that I have not covered here please contact me: moonscapegraphics@yahoo.co.uk