Dynamic Clothing Tutorial
Intro
The Cloth Room in Poser is a great tool for adding realism to your renders. The Cloth room can accurately simulate draped cloth over any surface.
This process is rarely used as it can seem a little daunting to start with. Most people using Poser will be comfortable using Conforming Clothing in Poser and because Dynamic cloth works differently certain parts of the process can be confusing.
In actual fact once you have learnt the basics, using dynamic cloth is easy and the results often turn out better than using conforming clothing.
As opposed to conforming clothing which incldes a skeleton/rig which matches its intended figure, Dynamic clothing has no skeleton/rig and therefore has no immediate way to follow your figures movement.
With Dynamic Cloth you use the Cloth room to "Clothify" a 3d mesh (this can be done with any 3d mesh and isn't restricted to clothes) then set up "Collisions" so that the cloth knows which surfaces are solid. Poser then calculates the drape of the cloth over a chosen set of animation frames.
The following steps will guide you through setting up and simulating a dynamic Skirt for V4 available for free here: Micro Skirt
After loading up poser and your desired Figure (In this case V4) start by resetting your figures rotations to Zero and removing any IK settings.
To remove IK settings navigate to Figure>Use Inverse Kinematics> then untick any of the body parts listed.
To Zero the rotations open the Joint Editor by navigating to Window>Joint Editor
Once the Joint Editor opens select your figures Hip followed by the "Zero Rotations" Button.
You should see a slight change in your figures pose. Usually their feet extrude through the floor.
Now you can close the Joint editor and load your Dynamic Prop into the scene.
I have included a link to a free Dynamic Skirt to practice with.
Once the skirt is loaded make sure it is selected and then parent it to your figure.
To parent the skirt to your figure navigate to Object>Change Parent and then select the appropriate body part for your selected clothing e.g. vest parents to chest, pants parent to hip.
In this case select the Hip for a skirt.
Now the skirt will move with your figure.
At this point you can Pose your figure. Remember that Dynamic Cloth needs "time" to drape this mean you should set up your scene near to or at the end of your animation cycle. The default animation cyle in Poser is 30 frames. You can alter this to have more frames or less depending on whether you feel the cloth is draping enough by the end or not.
I usually stay with the default 30frames.
So after your figure is posed you should see the skirt has followed v4s Hip but you now need to set up the cloth simulation settings and run the drape calculation.
Setting up the skirt so Poser views it as Cloth.
Enter the Cloth Room (by clicking the "Cloth" tab just below your navigation bar)
Once you have entered the Cloth Room ensure you have the skirt selected (this will make some of the next steps quicker)
Now select the "New Simulation" Button.
This will bring up the Simulation settings. Here you define the basic parameters of the simuation.
The simulation range: This setting shows how much of the animation period will be used to simulate cloth. This should usually be set for the same period as your animation, so if you have changed your animation to only 10 frames make sure
this number matches.
The Additional Cloth Collision Options: These settings determine how the cloth interacts with the solid objects in the scene. Normally just ticking the "Cloth Self Collision" button is enough here but sometimes it might be better to have cloth interact differently if you are getting alot of poke through.
Cloth Draping: Here you can add on some additional frames which will act as an initial draping stage. This can be usful if your cloth has some poke through at the start of the animation. Adding a couple of frames here gives poser a change to try and fix that poke through before the main simulation.
The setings in the above image are the ones I generally use.
After clicking ok, you now need to clothify your clothing. Click the "Clothify" button.
You then select your clothing but if you already had the intended clothing selected it will automatically be selected here.
After clicking OK you then set up your collisions. Click the "Collide Against" button.
You can now select everything you want your cloth to collide with by clicking the "Add/Remove" button which will show a list of everything in the scene. Checking the boxes next to each item adds it to the collision list. Once you have finished click OK (for this tutorial you only need to select Victoria4)
The Four Dials alter the cloth density and how close the cloth falls on your figure. The smaller the numbers the closer and thinner the material appears. I usually use the setting shown in the image above.
You can set Poser to ignore hand, feet and head. If your clothing is nowhere near any of these body parts you can tick them and save some calculation time.
Now you have set up your cloth for simulation. Once you have done this a few times you will find this process doesn't take too long.
The last thing to do now is to click "Calculate Simulation"
Saturday, 23 April 2011
Friday, 15 April 2011
Garden Column
Here is an image I just completed using Indirect Lighting in Poser8.
I will be working on a Tutorial on IDL in Poser 8 so stay tuned.
P.s. If you are interested there is a topless version on My Deviant Art gallery:
Retro Devil
I will be working on a Tutorial on IDL in Poser 8 so stay tuned.
P.s. If you are interested there is a topless version on My Deviant Art gallery:
Retro Devil
Saturday, 2 April 2011
Subway Station
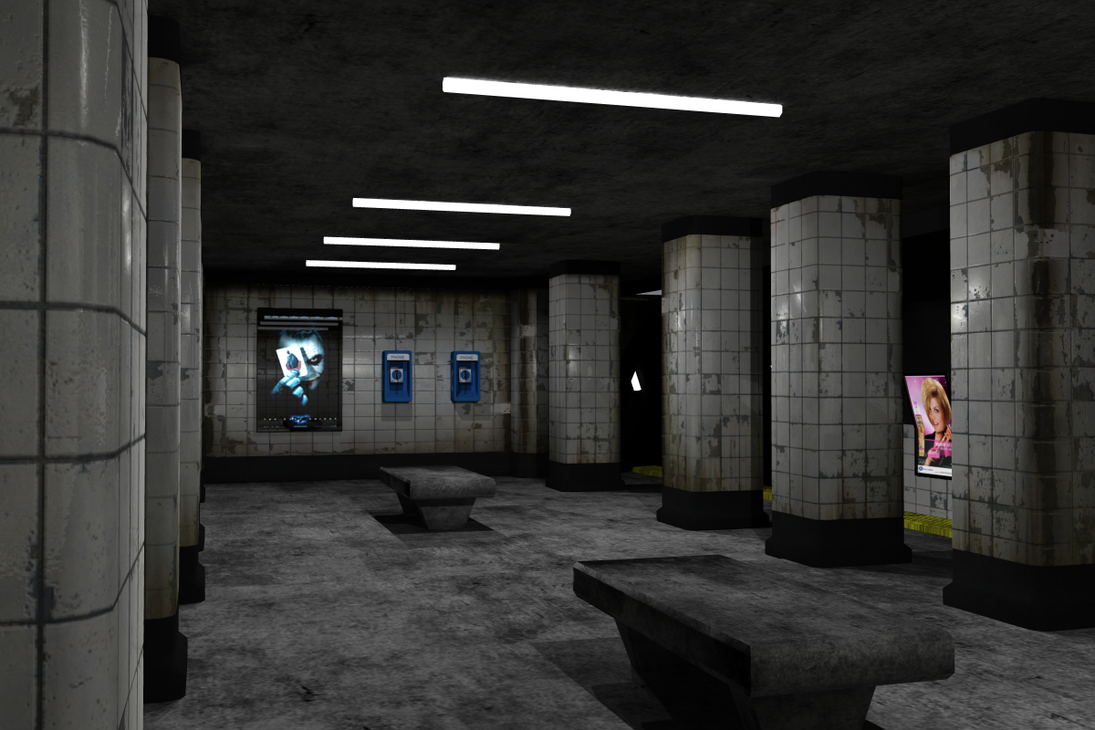
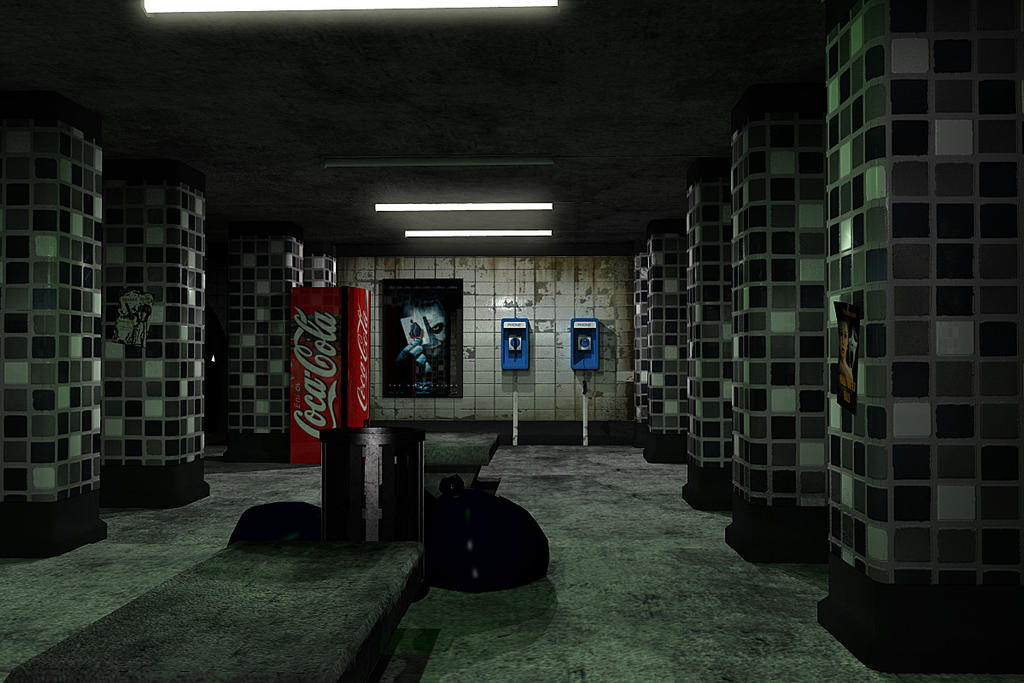
I have been working on a subway station scene which will probably be the first scene I complete in full and thought I would post some of the images here to show how I am getting on.
First render
The scene is pretty much complete now although I am always thinking of little tweaks here and there and I also want to add in a train at some point.
Render 2
Please let me know what you think.
First render
The scene is pretty much complete now although I am always thinking of little tweaks here and there and I also want to add in a train at some point.
Render 2
Please let me know what you think.
Subscribe to:
Posts (Atom)


