Thursday, 17 November 2011
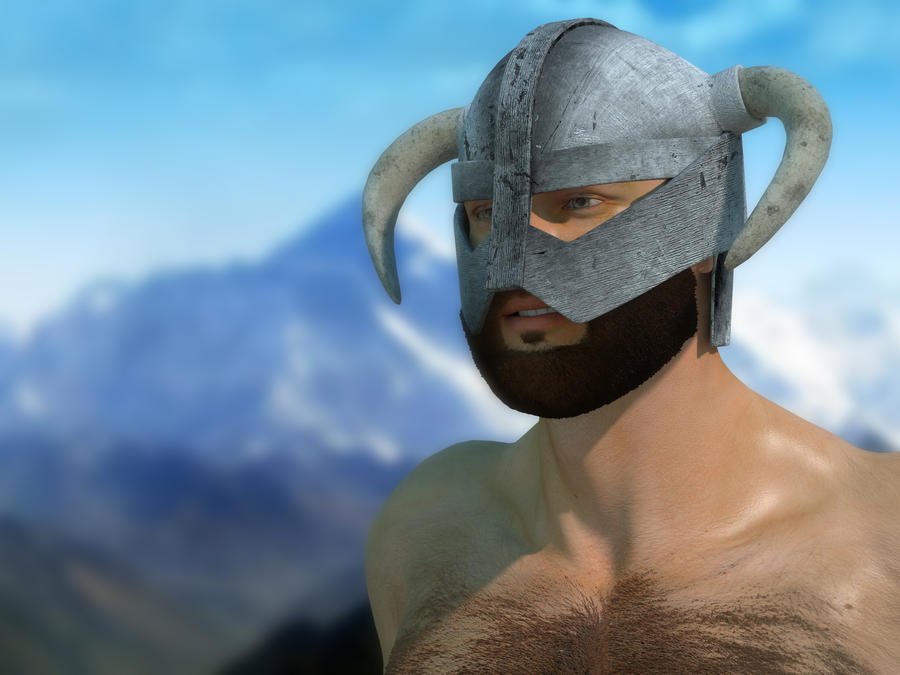
Dragon Born Helmet
I made this Dragonborn Helmet in Silo and decided to release it free.
If you are interested check here: Iron Helmet
Wednesday, 9 November 2011
IDL methods in Poser
Thank you for visiting my blog, I hope you will find this tutorial useful.
I will guide you through three methods of using my new Product ID-Light. If you do not have ID-Light you may be able to follow some points and still understand but some points need props and settings only included in the ID-Light product.
First of all this collection of lights can be used without the use of IDL (InDirect Light) which means you can use the product with Poser 6 and onwards. The results in Poser 6 and 7 however will vary considerable from Poser 8 onwards.
If you do however have Poser 8 onwards you have the extra benefit of using IDL.
Method one- IBL lighting(used in Poser 6 onwards)
ID-Light includes several IBL(Image Based Lights) which are created using the same images as the IDL set ups use. These IBL lights give different results but nevertheless are a great way to get excellent renders fast. Using these lights is very easy, once located in your runtime you click "Apply Library Preset" and there you have it, pre-made lighting that you can use as it is or add extra lights depending on your desired result.
Method two-IBL and IDL (for Poser 8 onwards)
Although not the traditional method of using Indirect lighting, Poser can use an IBL light to illuminate the scene rather than the more usual Environment Sphere method. Since Poser 8 there has been the option to use IDL, this option can be toggled in the Render settings and is a simple tick box. To use the IBL lights included in ID-Light in conjunction with IDL all you have to do is follow Method one and then before rendering ensure your IDL box is ticked.
Regarding render settings, I advise using the following settings.
These setting are different to my usual advised settings and I have found them to be the best settings for a balanced outcome. This means getting the best quality at the best possible render time. If you continue to use the settings I normally use you will have very long render times and quite frankly not much better results.
Method 3-Environment Sphere
An environment sphere allows IDL to work the way it was designed to by trapping light rays within a certain area and allowing them to bounce around. The result you get from IDL is a realistic one and means there is no need for Ambient Occlusion.
Located in the "Props" folder is a sphere named "EnviroSphere" This sphere is set up for use in IDL lighting and once loaded using the "Apply Library Preset" option you will need to enter the "Material Room".
Once in the material room you will notice the sphere has an image attached to it. If you wish to change the default image navigate to you materials folder of your runtime and find the IDLight folder. This folder contains preset materials for the sphere and simply clicking the "Apply Library Preset" button will change the colour produced by the sphere.
Now on retuning to the "Pose Room" you will probaly want to add some directional light to your scene. ID-Light comes with preset light separates to make things a little easier. These lights are located in your Light folder under IDLight. You have the option to add several point lights which will simulate a light similar to a bulb casting a degrading light from a single point in all directions. Also there are two "Sun" lights. These lights cast and infinite light source with no degradation over distance. All of these lights include Specular highlighting as default but if you find you scene is lacking in Specular highlights you can add the "Specular Light" this light only casts Highlights without adding extra illumination or shadows. To add several lights from the library you must use the "Add preset to current scene Lights" button. This will add a light without clearing the previously loaded lights.
Noteworthy extras: Hiding the Sphere.
One of the main advantages of using an IBL light instead of the Environment sphere is that your background is still clear meaning in Photoshop you are free to add your own background. This unfortunately is the case with Poser 8 and Pro 2010. You can however hide an object from rendering in poser 9 and pro 2012. Simply untick the "visible in camera box" This will then remove the sphere at render time.
In conclusion if you want to use a blank background in poser 8 your best bet is to use the IBL light in conjunction with IDL.
I hope you found this tutorial useful. If you have any extra questions that I have not covered here please contact me: moonscapegraphics@yahoo.co.uk
Saturday, 5 November 2011
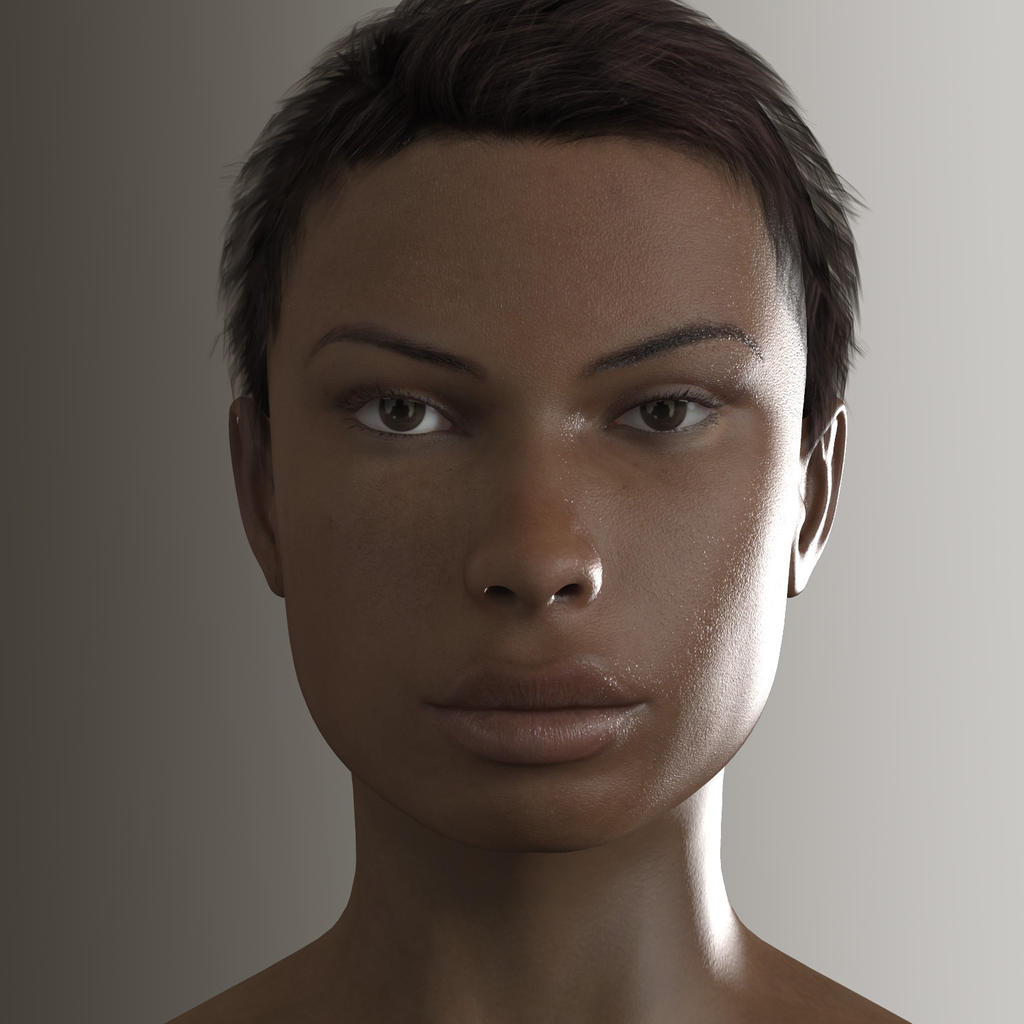
Nena V4 Character FREE
I have decided to post Nena, one of my first custom V4 characters, for free.
You can download Nena's custom head morph and here various body morphs over at ShareCG.
Direct Link: Nena Custom Morph
Images:
You can download Nena's custom head morph and here various body morphs over at ShareCG.
Direct Link: Nena Custom Morph
Images:
Subscribe to:
Comments (Atom)


